Sterilizing glass jars is an essential practice for anyone looking to store food safely, whether you’re canning seasonal fruits, making homemade jams, or storing spices. Proper sterilization prevents the growth of harmful bacteria and other microorganisms that can cause food spoilage and health risks. It’s not just about safety; it also enhances the shelf life of your contents, ensuring your efforts in the kitchen are well preserved.
The Risks of Neglecting Sterilization
Failure to properly sterilize your jars can lead to foodborne illnesses and spoilage. Contaminated food not only loses its nutritional value and flavor but can also become dangerous to consume. Therefore, understanding and applying correct sterilization techniques is crucial.
What You Need for Effective Sterilization
Essential Materials
Before you begin the process of sterilizing your glass jars, it’s important to gather all necessary materials. Here’s what you’ll need:
- Glass Jars and Lids: Ensure they are crack-free and have no chips.
- Large Pot: Must be deep enough to completely submerge jars in water.
- Rack or Cloth: Place at the bottom of the pot to prevent jar breakage.
- Tongs or Jar Lifter: For safely removing hot jars.
Optional Tools
While the above items are essential, a few additional tools can make the process even smoother:
- Magnetic Lid Lifter: Helps in handling sterile lids.
- Funnel: Useful for filling jars with less mess.
- Bubble Remover: Not essential but useful in ensuring no air pockets are left in the jars.
Gathering the right tools and materials not only makes the sterilization process more effective but also ensures it is safe and efficient. With everything in place, you are ready to choose your sterilization method and get started.
Methods of Sterilization
Proper sterilization of glass jars can be achieved through several methods, each suitable for different needs and available equipment. Here’s how to ensure your jars are safe for use:
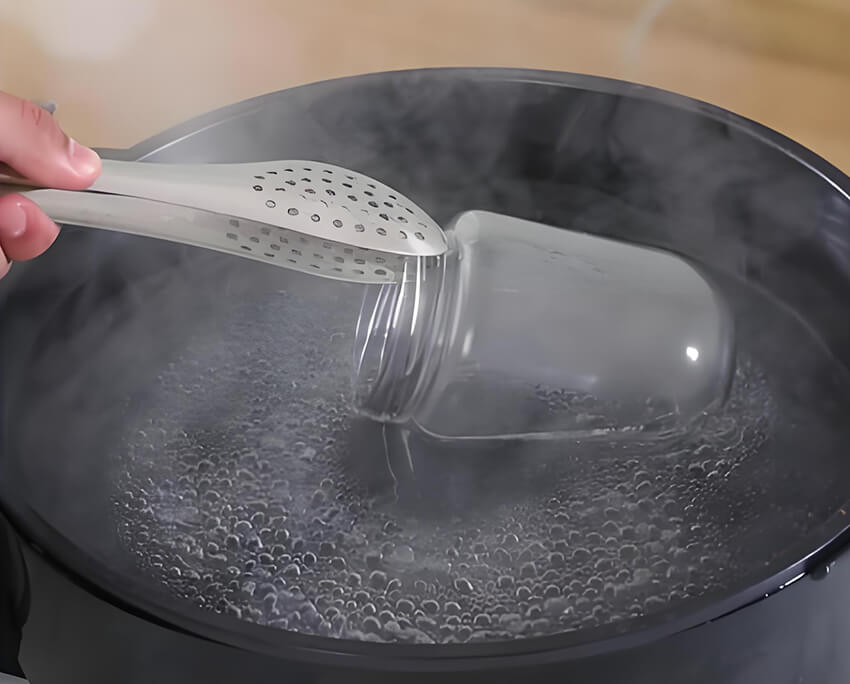
1. Boiling Water Method
The most commonly used method due to its simplicity and effectiveness, boiling water sterilization involves the following steps:
- Prepare Your Pot: Fill a large pot with enough water to completely submerge the jars. Place a rack or a folded towel at the bottom to prevent the jars from breaking.
- Submerge the Jars: Arrange the jars on the rack, ensuring they are fully submerged. The water should cover the jars by at least an inch.
- Boil and Time: Bring the water to a full boil, then let it boil for 10 to 15 minutes (adjust time based on altitude).
- Careful Removal: Use tongs or a jar lifter to carefully remove the jars and set them on a towel to dry.
2. Oven Method
Sterilizing jars in the oven is another effective method, especially useful when dealing with a large batch:
- Preheat Your Oven: Set your oven to 225 degrees Fahrenheit (about 107 degrees Celsius). Do not exceed this temperature to avoid the risk of glass breakage.
- Arrange the Jars: Place the jars on a baking sheet, making sure they do not touch each other.
- Sterilize: Leave the jars in the oven for at least 20 minutes.
- Remove Safely: Use oven mitts to carefully remove the jars and avoid handling them directly until they cool down.
3. Pressure Canning
This method is particularly effective for high-acid foods and provides a high level of sterilization:
- Setup Your Canner: Place the rack in the bottom of the pressure canner and fill it with 2 to 3 inches of water.
- Prepare the Jars: Place your jars in the canner. Make sure the lid is secured but not locked.
- Process: Follow the manufacturer’s instructions for your model to bring the unit up to pressure and then maintain that pressure for the recommended time.
- Cool Down: Allow the pressure to naturally release according to your canner’s instructions before opening the lid.
4. Microwave Method
A quick and convenient method for small batches or when other tools aren’t available:
- Prepare the Jars: Wash the jars and then wet them; do not dry. They should be microwave-safe and not have any metal parts.
- Microwave: Place the jars in the microwave and heat them on high power for about 45 seconds to 2 minutes, depending on the power of your microwave.
- Handle With Care: Use oven mitts or a towel to remove the jars as they will be very hot.
After Sterilization: Ensuring Continued Sterility
Handling Sterilized Jars Once your jars are sterilized, handling them correctly is crucial to maintain their sterility until they are filled:
- Avoid Contamination: Always handle the jars with clean hands or use sterile gloves. Avoid touching the inside of the jar or the inside of the lid.
- Use Immediately: It’s best to use sterilized jars immediately after they cool down to minimize the risk of contamination. If you must wait, keep the jars in a clean, dry place.
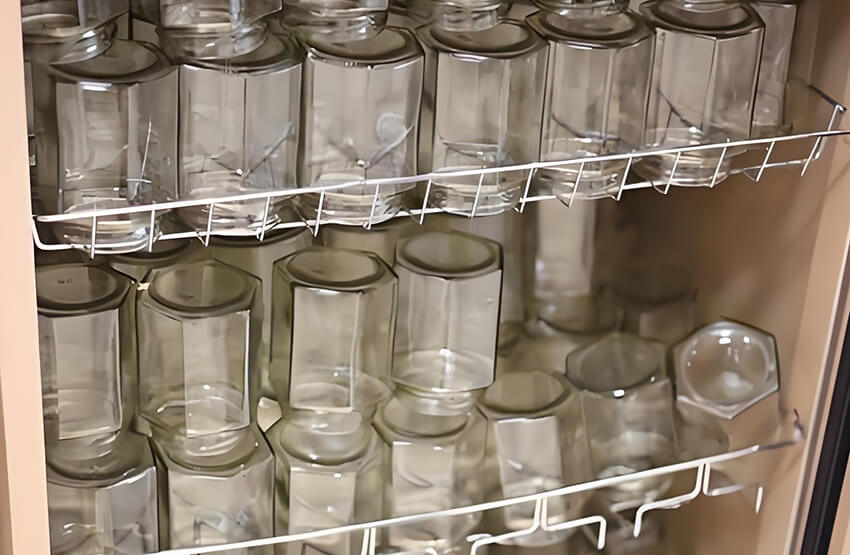
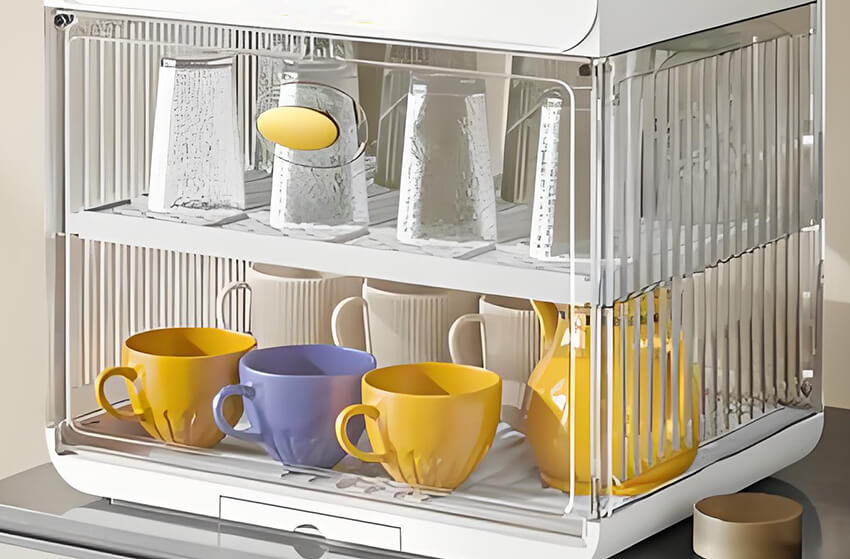
Storing Sterilized Jars If you need to store jars for later use, following the right procedure will help keep them ready for when you need them:
- Seal for Storage: Temporarily place the sterilized lids on jars to protect from dust. Do not seal tightly until after filling.
- Keep in a Clean, Dry Place: Store your jars in a cool, dry area away from direct sunlight and contaminants.
Common Mistakes to Avoid
Avoid These Pitfalls to ensure successful sterilization and safe storage of your food products:
- Not Using a Rack: Placing jars directly on the bottom of a boiling pot can lead to breakage. Always use a rack or a cloth to cushion the jars.
- Skipping Pre-Cleaning: Sterilizing doesn’t clean the jars; it only kills bacteria. Always wash jars and lids thoroughly before sterilizing.
- Cooling Jars Too Quickly: Rapid changes in temperature can cause the glass to crack. Allow jars to cool down naturally in a draft-free environment.
- Overfilling the Jars: Leave appropriate headspace as recommended for the type of food you are preserving. Overfilling can lead to sealing failures and contamination.
Conclusion: Safeguarding Your Efforts
The Importance of Proper Sterilization Sterilizing glass jars may seem like an extra step, but it is essential for ensuring the safety and longevity of your food. By following the correct procedures, you not only safeguard your health and that of your family but also enhance the quality and taste of preserved foods.
Encouragement to Practice Good Sterilization We encourage all home canners and food preservers to adopt these practices diligently. Remember, good sterilization not only extends the shelf life of your food but also maximizes the flavors and nutrients. Keep these tips and techniques in mind to enjoy safe and delicious homemade preserves throughout the year.
FAQ Section: Answering Your Common Questions
Can I Reuse Commercial Jars for Home Canning?
Yes, you can reuse commercial glass jars for home canning, but it is essential to check for any chips or cracks before use. Additionally, make sure the lids fit securely. Commercial jars may be thinner and less durable than those specifically designed for canning, so handle with care.
How Do I Check if a Jar is Properly Sterilized?
A properly sterilized jar will have no visible residue, and there should be no moisture or condensation inside the jar if it has cooled completely. To ensure sterility, follow the recommended time and method for sterilization. Remember, if in doubt, it’s safer to re-sterilize the jar.
How Often Should I Sterilize Jars?
You should sterilize jars every time you use them for canning or storing perishable items. For non-perishable dry goods storage, thorough washing may suffice, but sterilization is recommended for long-term storage to prevent any risk of contamination.
What Should I Do if a Jar Breaks During Sterilization?
If a jar breaks during sterilization, carefully remove all pieces from the pot or oven, ensuring you protect yourself from cuts. Clean the pot and any remaining jars thoroughly before attempting to sterilize again. Always check for potential causes of breakage, such as direct contact with the heat source or overcrowding in the pot.
Is It Safe to Sterilize Plastic Lids and Containers?
Plastic containers and lids should not be sterilized using high temperatures as they can melt or warp. If you need to sterilize plastic, consider using chemical sterilizers, or wash with hot, soapy water followed by a rinse with a vinegar solution. Always check the manufacturer’s guidelines to ensure the plastic is food-safe and can handle the sterilization method you intend to use.